Your logo can look perfect on a screen. It may still sew badly on a curved cap. Small letters may close up. A front seam can split a shape. Thick 3D foam may fill a narrow space. Fix these problems before the first sample. That is much easier than changing a bulk order.
This hat embroidery digitizing checklist is for brand teams that want a cleaner first sample. It does not replace the digitizer’s skill. It gives the digitizer and factory the facts they need to make sound choices and gives your team clear points to approve.
This step matters for custom embroidered hats because the stitch file is tied to a real logo size, cap shape, fabric, and method.
First, understand what digitizing does
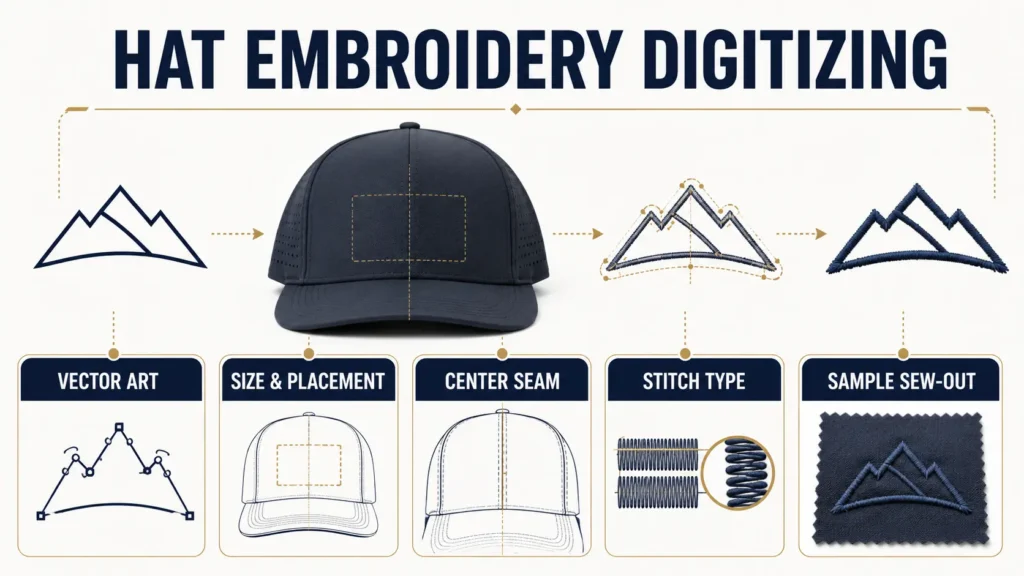
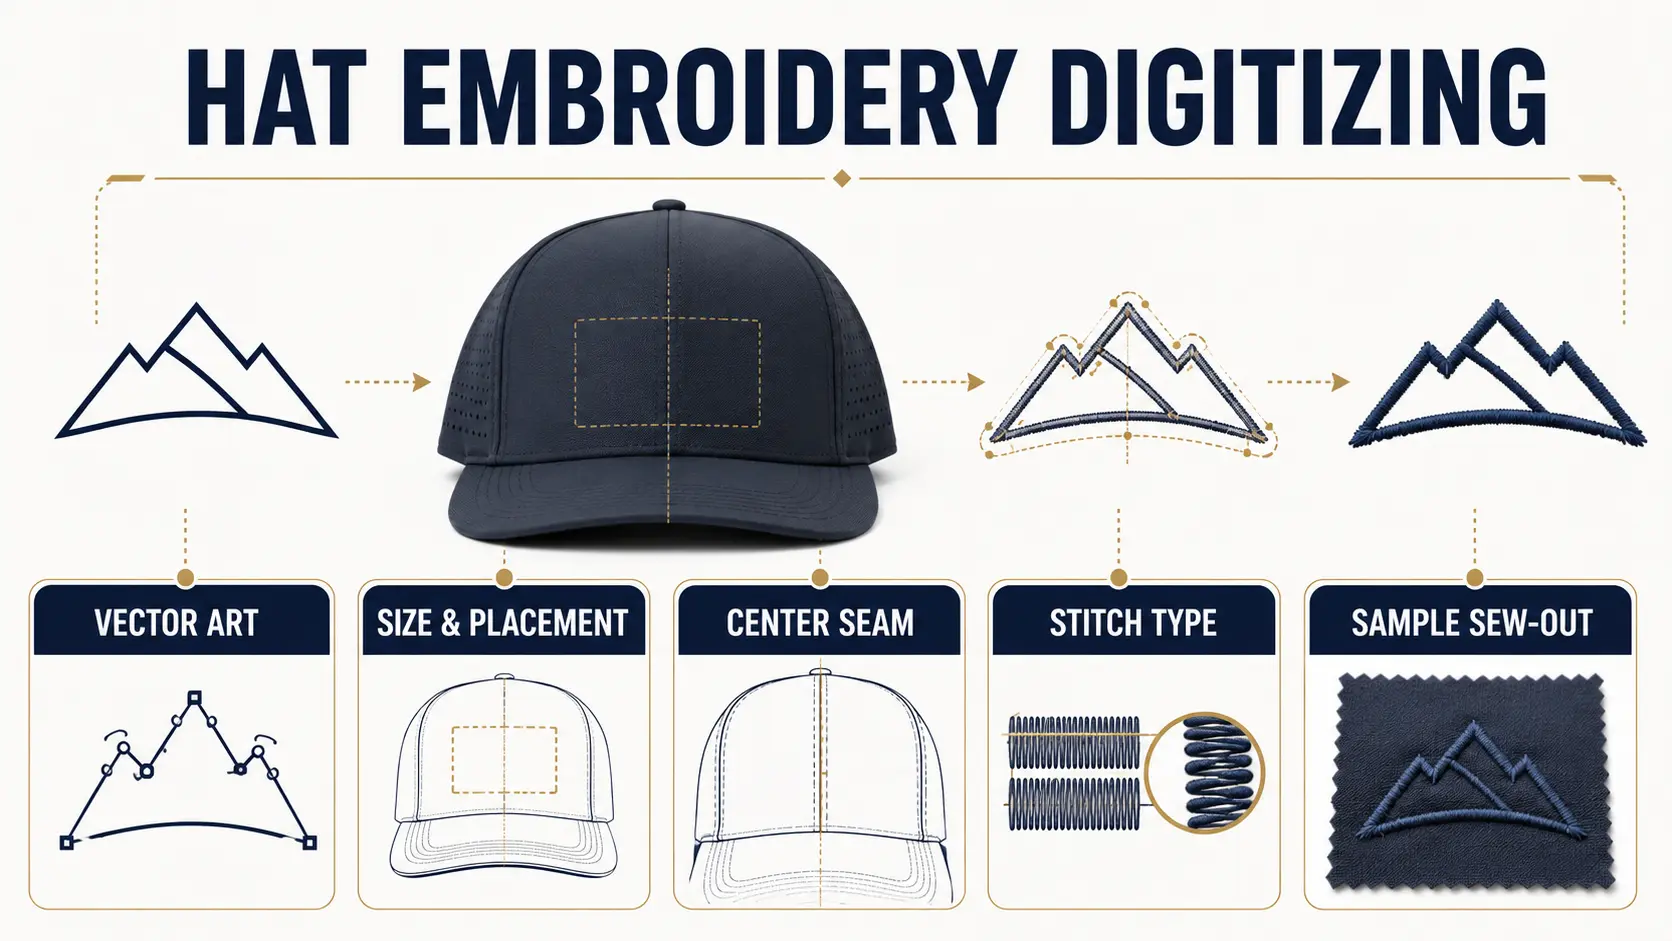
Digitizing is not the same as saving a logo in a different file format. A digitizer turns artwork into instructions for the embroidery machine. Those instructions control stitch types, direction, order, density, underlay, trims, and color changes. The cap material, panel shape, backing, and logo position all affect those decisions.
Send the best artwork you own. Vector artwork is useful because its shapes can be resized cleanly; Adobe’s vector file guide explains the basic difference between vectors and pixel images. Also include a PDF preview so the factory can confirm that fonts, colors, and spacing opened correctly.
Lock the size and placement before stitches are planned
A digitized file is built for a finished size. Do not ask the factory to “make it fit” after the file is prepared. State the logo width and height in millimeters and name the placement: front center, left side, right side, or back. Give a measurement point, such as the distance from the bottom of the front panel to the bottom of the logo.
For the front, identify the panel structure. A six-panel cap has a center seam. Five-panel and some seven-panel designs offer a different logo field. The correct choice depends on the logo, target crown, and brand look. Compare methods in JoinTop’s guide to logo techniques for custom hats.
Decide between flat embroidery and 3D puff
Flat embroidery works well for many detailed shapes and smaller text. 3D puff uses foam under the top stitches to create height. It can give bold letters a strong retail look, but it is not ideal for every line, corner, or tiny space. Tajima’s 3D embroidery guidance shows that the process needs specific digitizing and finishing choices.
Do not convert every part of a detailed logo into puff. Ask whether a mixed method would be better: raised main letters with flat small text, for example. If the logo is too complex for a clean stitched result, a woven or silicone patch may protect the artwork better. JoinTop’s comparison of embroidery, patches, and printing can help your team choose before paying for a new file.
Review the digitizing brief line by line
| Decision | What the brand should state | What to inspect |
|---|---|---|
| Finished size | Width and height in millimeters | Small gaps and letters remain open |
| Cap structure | Panel count, crown profile, material, and backing | Stitches sit flat on the actual cap |
| Method | Flat, 3D puff, or a named combination | Edges, height, and detail match the target |
| Thread colors | Physical thread references or approved choices | Color is checked under agreed light |
| Placement | Named location and measurement points | Logo is level and clear of seams or brim |
| Special limits | Minimum readable text, protected gaps, no-sew areas | Brand marks remain recognizable |
Stitch type names are standardized in ISO 4915, but a brand buyer does not need to program every stitch. Your job is to approve the visible result and the product requirements. The digitizer’s job is to build a file that reaches that result on the named cap.
Do not approve thread color from a monitor alone
Screen color changes with the display, brightness, and room light. Ask the supplier to use a physical thread card or send a close physical match for approval. Madeira provides thread color resources that show why a named thread system is more useful than a screenshot. If a brand color is critical, keep the chosen thread number on the approved specification and master sample.
Fabric color also changes how thread appears. Bright thread on black twill can look different from the same thread on light performance fabric. Judge the full combination, not the thread cone by itself.
Ask for a sew-out, then check the actual cap sample
A flat sew-out can reveal missing details, poor spacing, or wrong colors. It is a useful check. Yet it does not copy the curve, seam, stiffness, or frame movement of the finished cap. Tajima’s cap-frame tips show why cap embroidery is different from work on a flat item.
Approve in two stages when the logo is new: first the sew-out, then the embroidery on the real cap sample. Use close photos from the front, side, and a slight angle. Measure the logo and its position. Wear the cap to see whether the mark looks level on a head, not only on a table.
Give sample feedback that can be acted on
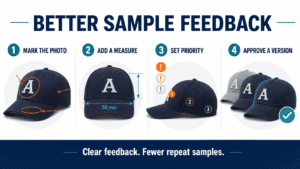
“Make it cleaner” does not tell the production team what to change. Mark the problem on a photo and write a measurable instruction: “Increase the gap between R and K by 0.8 mm,” or “Move the logo 3 mm higher from the front-panel bottom.” Separate comments into Must Fix, Preferred, and Approved. The custom hat sample feedback guide gives a full method for controlling revisions.
Give the artwork, stitch file, sew-out, and cap sample a version number. Your team may approve a change. If so, name the new version on the purchase order. This small habit keeps an old logo file from coming back during a reorder.
Send the right files before your first sample
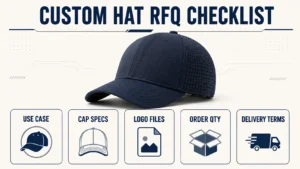
For a practical embroidery review, send your vector logo, PDF preview, finished logo size, cap construction, material, placement, method preference, and color references. JoinTop’s regular starting point is 100 pieces per style and color, with sampling commonly taking 7–14 days and bulk production about 35–45 days after approval. Contact JoinTop with your embroidery brief, and we can flag likely seam, scale, or method issues before the cap sample is made.

 English
  German
  Spanish
  French
  Amharic
  Portuguese
  Italian
  Swedish
  Turkish
  Belarusian
  Danish