
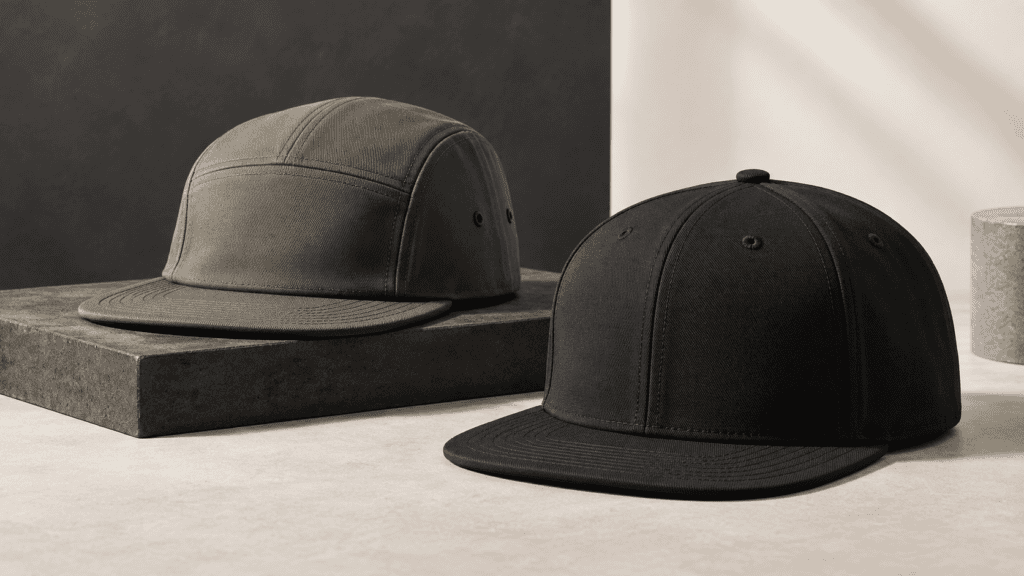
Short answer: A reliable custom flat bill hat program starts by locking the brim angle, crown block, front support, decoration area, and intended fit before final sampling. Approve the complete cap—not only a flat artwork mockup—then record measurements, materials, logo placement, inspection points, and the change history so every colorway and reorder can be compared with the same standard.
A flat bill can make a collection look sharper, more modern, or more streetwear-led, but it also makes construction differences easy to see. A visor that twists, a crown that collapses, or a logo that sits too close to the edge is visible from across a showroom. The same artwork can look balanced on a structured cap and crowded on a lower crown. For golf, running, and outdoor programs, compare that brief with JoinTop’s Prestationsbaserad keps route: it is a separate performance build with targeted laser-perforated ventilation, a stable front decoration zone, and a natural curved visor—not a flat-bill variant.
This guide is for brand owners, product teams, wholesalers, importers, and sourcing managers developing custom flat bill hats in commercial quantities. It focuses on the decisions that protect fit, visual consistency, sampling efficiency, and reorders—not on buying one personalized cap.
What makes custom flat bill hats different from other cap programs?
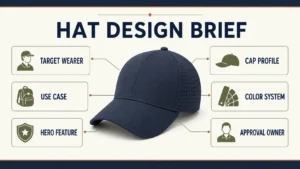
The flat visor is a structural decision, not just a styling detail. It changes how the crown presents the logo, how the cap sits on the wearer, and what the factory must keep stable across sizes and colors. Before requesting a quote, define the product as a system:
- Crown block: panel count, height, taper, front support, seam position, and intended profile.
- Visor: finished width, length, edge finish, core or reinforcement, top and underside materials, and the approved flatness.
- Fit: target head range, closure, sweatband, crown depth, and whether the cap is adjustable or fitted.
- Decoration: finished logo size, placement reference points, stitch or patch method, and any restrictions created by seams or stiffeners.
- Control file: approved measurements, material references, sample photos, inspection limits, and revision owner.
A useful rule is to choose the cap platform for the customer and channel first, then adapt the logo to that platform. A large uninterrupted front panel may help visibility, but it does not automatically make the cap right for a golf, lifestyle, running, or outdoor assortment.
Which flat bill structure should a brand specify?
Use a comparison table in the brief so a supplier is quoting the same product you have in mind. The names “flat bill,” “snapback,” and “five panel” describe different parts of a cap and should not be treated as interchangeable.
| Decision | Options to define | Production risk if left open | Evidence to approve |
|---|---|---|---|
| Front and crown | Five-panel, six-panel, structured, or lightly structured | Logo area, seam position, and silhouette change between samples | Pattern or block reference plus complete cap sample |
| Visor | Flat or controlled slight curve; specified width and length | Twist, edge wave, inconsistent profile, or a different worn view | Top and side photos on a flat reference surface |
| Förslutning | Snapback, strapback, fitted, or another defined system | Fit range and back appearance no longer match the product brief | Closure setting range and measurement record |
| Front support | Foam, woven backing, fused support, or another approved construction | Front collapses, puckers, or changes logo legibility | Material swatch and stitched or patched sample |
For a broader explanation of five-panel and six-panel trade-offs, see the five-panel cap manufacturing guide. A flat bill article should add the brim-control and approval details that a general style comparison does not cover.
When should a brand choose Performance Cap instead?
A flat-bill request and a Performance Cap request can share purchasing controls, but they solve different use cases. If the collection must manage heat, movement, or repeated outdoor wear, evaluate Performance Cap as the primary build. JoinTop’s performance range uses targeted laser-perforated side and back ventilation, a stable front panel for branding, and a curved visor; the hole layout, fabric, sweatband, and final fit are confirmed during sampling.
| Buyer question | Flat bill direction | Performance Cap direction |
|---|---|---|
| What profile should the customer see? | Flat visor and a structured fashion or streetwear silhouette | Natural curved visor with a defined performance profile |
| How will airflow be handled? | Fabric, mesh, and construction choices specified for the flat-bill brief | Laser-perforated side/back zones balanced with fabric, seams, and sweatband |
| Where will it be worn? | Lifestyle, streetwear, or a collection that requires a flat visor | Golf, running, training, outdoor, and active-lifestyle programs |
| What must the logo prove? | Finished placement on the flat front and visor relationship | Stable front decoration area plus the right method for a lightweight build |
Review the custom Performance Cap manufacturing page och Performance Cap options when the use case is active. Do not label a flat-bill sample as a Performance Cap simply because it has ventilation; the construction and fit must match the approved product route.
How should the brim and crown be engineered?
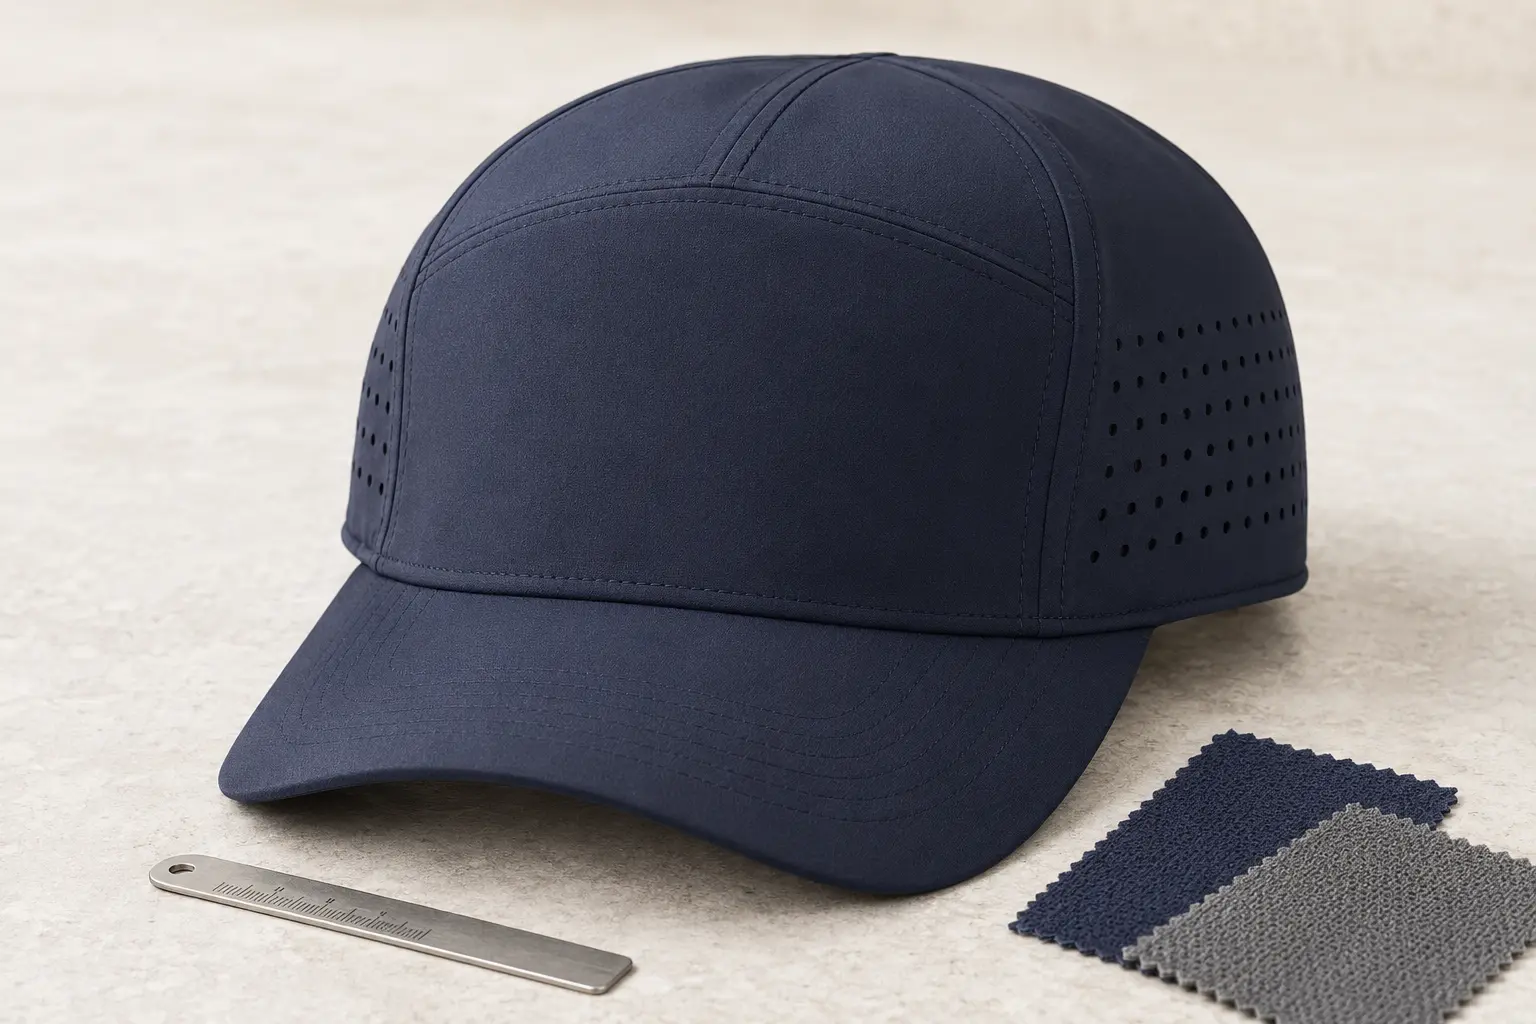
Start with the worn view, not only a technical drawing. Record the visor’s finished dimensions after assembly, the relationship between the visor and crown, and how the cap looks when the closure is adjusted. If a brand wants a rigid, architectural profile, the support and stitching need to be specified together; adding a stiffer core late in development can change both weight and comfort.
- Check the edge: look for a clean, even binding or raw-edge finish with no visible waves.
- Check the plane: place the visor on a reference surface and photograph it from the front and side.
- Check the join: inspect the seam or attachment line for puckering and uneven tension.
- Check the crown: confirm that the front stays supported without creating a hard pressure point.
- Check the fit: wear the cap at several closure settings and record crown depth, pressure, stability, and brim view.
Den custom baseball cap fit validation guide gives a repeatable way to turn wearer feedback into sample changes. Use the same measurement language for a flat bill cap so product and quality teams are not judging each sample by a different standard.
Where should a logo go on a flat bill hat?
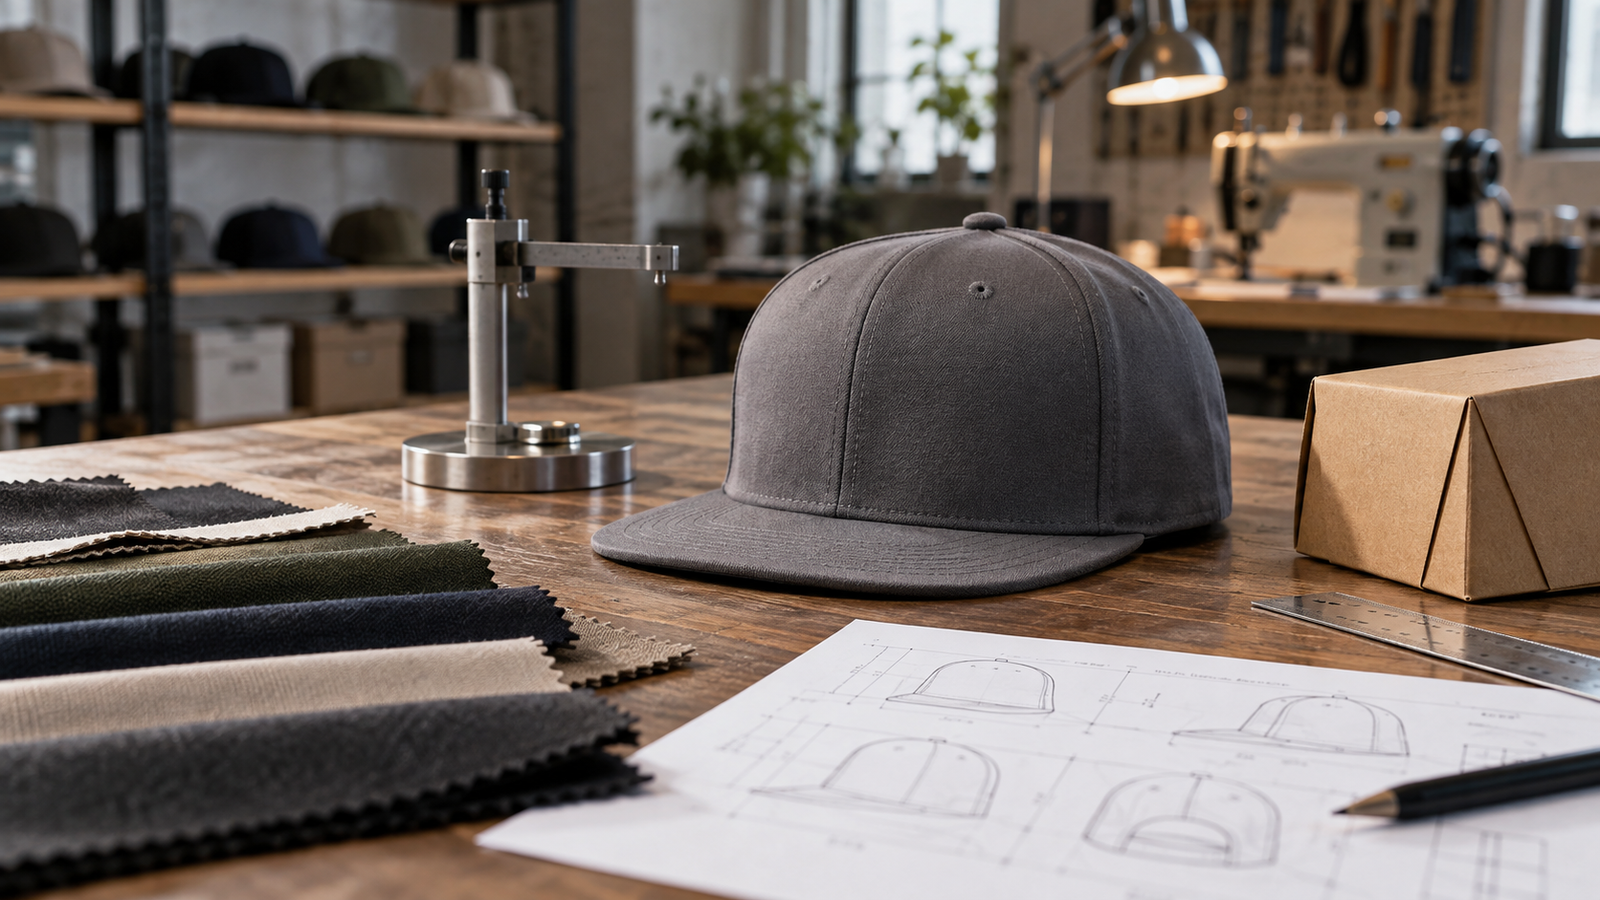
Define the finished logo size and the measurement points on the physical cap. A digital rectangle is not a placement specification. The front may curve, the lower edge may sit above a seam, and the visual center of the lettering may not match the center of the artwork box.
For each logo method, approve:
- finished width and height on the cap;
- distance from the visor seam, side seam, and top edge;
- optical centering of the visible mark as well as measured centering;
- thread, patch, print, or badge colors against the actual fabric;
- minimum detail that remains readable after the cap is curved and worn;
- separate placement rules for each crown block or size group.
Use the custom hat logo placement guide to create a controlled approval page. If a flat bill collection uses more than one front material, approve a physical sew-out or decoration sample for each material family rather than assuming the same file will behave identically.
What should the sample approval prove?
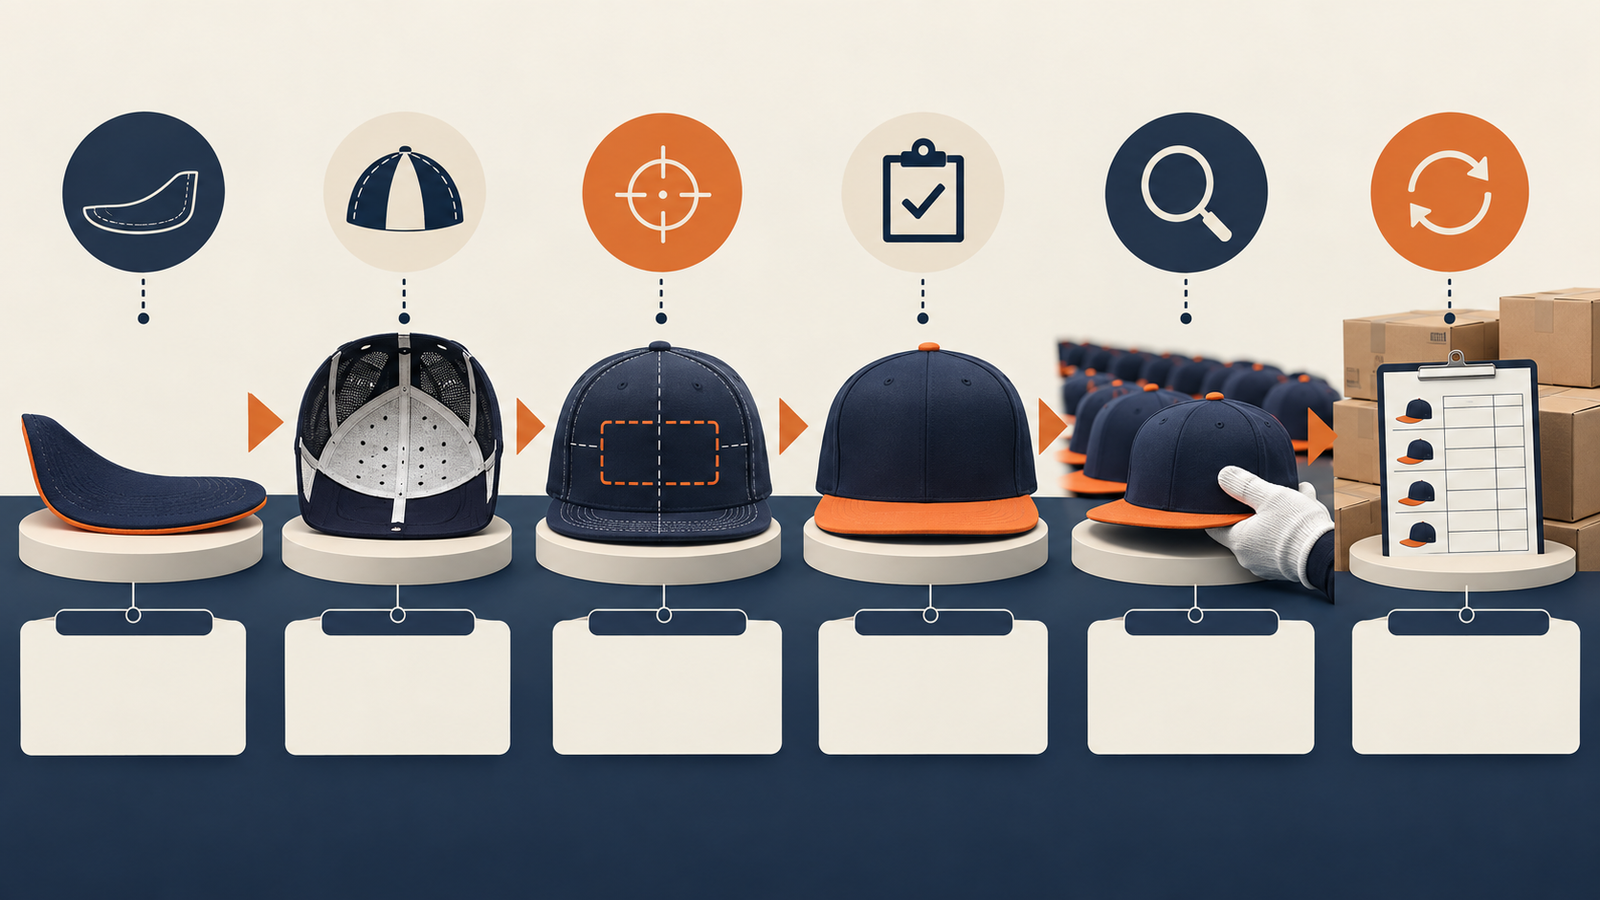
A sample is ready for a commercial decision when it proves the product brief, not merely when it looks attractive in one photograph. Keep the following evidence together:
- Material and component record: fabric, visor core or support, sweatband, closure, labels, and packaging version.
- Measurement sheet: crown dimensions, visor dimensions, closure range, and agreed tolerances.
- Decoration proof: finished size, placement, color references, and a sew-out or patch sample where relevant.
- Worn and flat photos: front, side, back, top, underside, and the cap on the intended fit range.
- Decision log: approved, revise, or reject; named owner; date; and the next action.
How do brands control flat bill quality in bulk?
Inspect the features that customers will see and feel, not only the carton count. A practical bulk checklist includes:
- visor flatness, width, length, edge finish, and attachment;
- crown height, panel alignment, front support, and seam tension;
- logo size, placement, thread or patch color, and surface puckering;
- closure function, sweatband attachment, labels, and loose threads;
- color consistency across fabric, visor, trims, and decoration;
- packing version, carton identification, and the sample used for comparison.
Record defects by type and location so a supplier can correct the process instead of only sorting one shipment. The custom hat quality-control guide och reorder checklist can be used together: one controls release, and the other protects the approved version later.
What affects cost, MOQ, and lead time?
Cost changes with the crown and visor construction, support materials, decoration method, number of locations, trims, labels, packaging, testing, quantity, and delivery basis. Ask suppliers to quote the same specification. A lower quote may represent a different visor core, a smaller logo, a simpler finish, or work that another quote includes.
JoinTop’s standard MOQ is 100 pieces per style and color. Typical sampling takes 7–14 days, and typical bulk production takes 35–45 days after sample approval. Those ranges do not include design changes, buyer approval, sample shipping, or international logistics unless the project schedule confirms them. Work backward from the warehouse date and leave time for fit and brim corrections before every colorway is released.
What should you send for a useful flat bill hat quote?
Include enough information for a factory to evaluate manufacturability rather than sending only a reference photo:
- company or brand website and sales channel;
- target wearer, use case, and destination market;
- panel count, crown profile, visor dimensions, closure, and front support;
- fabric, color references, trims, labels, and packaging requirements;
- vector logo, finished size, placement points, and decoration method;
- quantity per style and color, SKU count, forecast, and reorder expectation;
- sample evidence required, inspection criteria, and approval owner;
- target cost basis and required delivery date.
Den custom hat RFQ checklist helps organize the commercial handoff. Keep the flat bill measurements in the same file as the artwork so a later colorway cannot quietly change the silhouette.
FAQ: custom flat bill hats for brand programs
Are flat bill hats the same as five-panel hats?
No. “Flat bill” describes the visor profile; “five-panel” describes one crown construction. A five-panel cap may have a flat visor, but a flat bill can also be built on another defined crown platform. Put both decisions in the purchase specification.
Can the same logo file be used on every flat bill cap?
It may be the same brand artwork, but the finished size, digitizing, support, and placement can need adjustment when the front material or crown block changes. Approve the decoration on the real cap rather than relying on a screen mockup.
When is a Performance Cap a better fit than a flat bill?
Choose the Performance Cap route when the buying brief is driven by golf, running, training, outdoor movement, targeted ventilation, or a stable lightweight decoration zone. Keep the flat-bill route when the flat visor is a non-negotiable part of the product identity.
What is the minimum information needed for a first quote?
Send the company or website, cap structure, visor and front-material references, logo file, quantity per style and color, target market, and required delivery date. Add any fit, testing, packaging, or inspection requirements that could change the scope.



 English
  German
  Spanish
  French
  Amharic
  Portuguese
  Italian
  Swedish
  Turkish
  Belarusian
  Danish