

Short answer: Premium custom embroidered trucker hats come from matching the logo to a defined cap platform. Approve the crown, front-panel material and support, finished logo size, stitch method, placement, thread colors, sew-out, and complete cap sample before bulk production.
Embroidery makes small differences between trucker caps easy to see. A logo that looks sharp on a firm five-panel foam front can sink, pucker, or split across the seam of a softer six-panel crown. The artwork may be identical, but the production result is not.
This guide is for brands, wholesalers, importers, and sourcing teams buying custom embroidered trucker hats in commercial quantities. It explains how to choose the cap-and-logo combination, approve the right evidence, control several colorways, and protect a reorder—not how to personalize one blank cap.

What makes embroidered trucker hats look premium in bulk?
The logo is only one part of the answer. A clean bulk result depends on four systems working together:
- Cap structure: crown profile, panel layout, front support, mesh, visor, and closure.
- Artwork translation: finished size, readable detail, stitch type, sequence, density, underlay, and pull compensation.
- Physical approval: thread reference, sew-out, complete cap sample, and marked photos.
- Production control: file revision, colorway matrix, inspection points, and reorder records.
If one of those systems changes, the result may change. That is why “same logo” does not always mean “same embroidery file,” and “same trucker hat” is not enough detail for a comparable supplier quote.
Which trucker-cap platform suits the logo?
Choose the actual cap before final digitizing. The embroiderer needs the panel layout, front material, support, seam position, crown height, and intended placement. A generic mockup cannot provide that information.
| Cap platform | Often suits | Embroidery issue to check | Buyer trade-off |
|---|---|---|---|
| Five-panel foam front | Bold logos, workwear, promotions, vintage trucker looks | Foam compression, surface rippling, and edge definition | Large clean front area, but the material can feel less refined if the specification is weak |
| Structured six-panel twill front | Sports, outdoor, retail, and brand collections | Center seam crossing letters or narrow details | Familiar cap shape with less uninterrupted logo space |
| Performance-fabric front | Golf, running, travel, and technical outdoor programs | Needle marks, puckering, support, and compatibility with coatings | Higher functional value, but material and decoration need joint testing |
The platform also includes the mesh, visor, sweatband, closure, top button, eyelets, labels, and internal finish. Lock those choices under a block or style code. The custom trucker hat manufacturing page covers the broader construction options; this guide focuses on controlling the embroidered version.
Decision rule: choose a cap that works for the customer and channel first. Then adapt the decoration to the cap. Do not select a crown only because it makes the current logo easier to sew.
How should artwork change for flat embroidery, puff, or a patch?
Start with vector artwork when possible. Vector paths can be resized without the pixelation found in a small raster image; Adobe’s vector and raster comparison explains that distinction. A vector file is still not a machine-ready embroidery file. Digitizing translates the design into stitches for a specific material and cap construction.
Keep the brand master separate from the production version. If small lettering, narrow gaps, gradients, or outlines cannot sew clearly at the approved size, the brand should approve the simplification. The factory operator should not redesign the mark during production.
| Method | Works well when | Watch for | Evidence to approve |
|---|---|---|---|
| Flat embroidery | Letters and filled shapes have enough space at finished size | Closed counters, gaps, misregistered outlines, and panel puckering | Sew-out plus finished cap sample |
| 3D puff embroidery | Shapes are broad enough to cover and cut the foam cleanly | Tiny text, sharp corners, isolated details, and center seams | Physical puff sew-out on a comparable base, then the cap |
| Mixed flat and puff | Hierarchy is clear and layers do not crowd each other | Height changes, overlap, stitch order, and excess weight | Complete physical sample |
| Woven or other patch | The artwork needs fine detail or a separate visual surface | Edge finish, patch stiffness, attachment, and crown distortion | Finished patch attached to the cap |
JoinTop’s embroidery, patch, and print comparison helps teams choose the broader method. Once embroidery is selected, use the embroidery digitizing checklist to define finished dimensions, stitch treatment, seam rules, colors, and file ownership.
Why do you need both a sew-out and a cap sample?
A sew-out checks how the artwork becomes thread. It lets the team review color, stitch direction, small details, outlines, surface coverage, and the digitizing logic before a complete cap is made.
The cap sample answers different questions. It shows how that embroidery sits on the real curve, whether a center seam affects the mark, whether the panel puckers, whether the placement looks balanced when worn, and whether the inside finish feels acceptable.
Hypothetical example: a wide wordmark looks clean on a flat test swatch. On the six-panel cap, two letters sit over the center seam and the outer letters wrap away from the viewer. Increasing stitch density will not solve the geometry. The useful choices are to reduce the finished width, approve a stacked version, select a seamless front, or change the decoration method. This example illustrates the decision process; it is not a claim about a specific customer order.
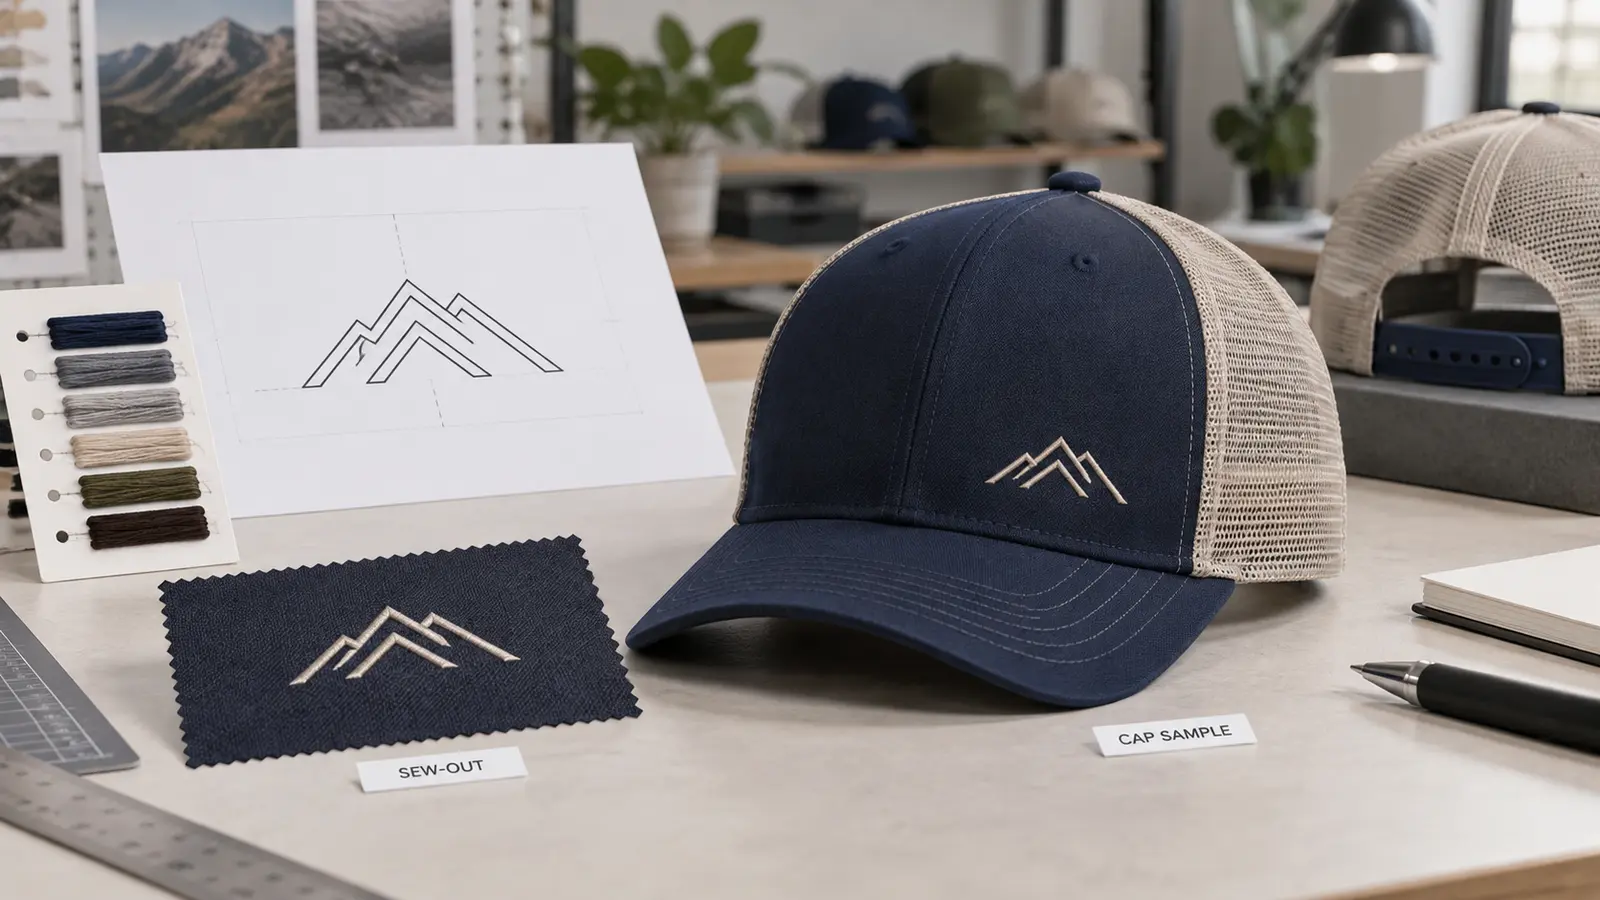
What belongs on the approval page?
“Looks good” in an email does not give production enough control. One approval page should connect the cap, artwork, and decision owner. Include:
- cap block, panel layout, front material, and support codes;
- brand artwork plus the digitized file name and revision;
- finished logo width and height;
- placement reference points and visual center;
- physical thread references by logo element;
- front, side, three-quarter, and inside photos;
- approved exceptions, date, and named approval owner.
Measure placement from points that production can repeat. A direction such as “slightly higher” may work during a live sample discussion, but the final page should convert it into a dimension and marked photo. The hat logo placement guide provides a repeatable method for that handoff.
How should multiple colorways be approved?
Build every colorway as a controlled combination. Record the front, visor, under-visor, mesh, closure, sweatband, eyelets, top button, thread, labels, and packaging under one SKU code. Dark and light materials change contrast, and a tonal logo can disappear at normal viewing distance even when the thread code is correct.
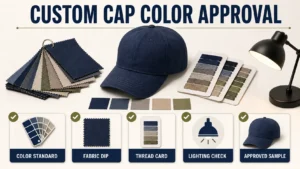
A screen color does not prove a match between fabric, thread, plastic, and print. Use physical references for the relevant materials. Pantone’s textile color systems can support communication, but the final visual relationship still needs physical approval.
Sample by risk, not by habit. A new front fabric, a new thread family, low-contrast artwork, a puff version, or a different cap block deserves physical proof. A color change on an already proven construction may need less development. State which elements are shared and why, rather than either sampling everything or assuming one easy colorway covers the whole collection.
What should bulk quality control actually inspect?
“High-quality embroidery” is not an inspection instruction. The quality plan should name the check, its reference, and the action when the result falls outside the approved condition.
| Inspection point | Compare with | Failure to flag |
|---|---|---|
| Logo size and position | Approved dimensions and marked placement photo | Logo drifts high, low, or away from the visual center |
| Stitch result | Approved sample and digitized revision | Open fill, broken thread, gaps, poor registration, or exposed puff foam |
| Crown surface | Approved front and side views | Puckering, collapse, seam distortion, or needle damage |
| Inside finish | Approved sample and workmanship requirement | Loose thread, rough backing, or incomplete trimming |
| Colorway | Physical material and thread references | Wrong component, shade, or unacceptable loss of contrast |
| Cap construction | Tech pack and approved cap | Mesh, closure, visor, sweatband, or label does not match the SKU |
Set project-specific tolerances with the supplier. A universal placement number is not credible because logo size, crown shape, and brand standards vary. Use measurable dimensions where they help, and marked photos where appearance cannot be reduced to one number.
Plan inline and final checks before production begins. An early inline review can catch the wrong file, thread, or placement before the full quantity is embroidered. Final inspection confirms the finished assortment, but it is a costly point to discover that the released artwork was wrong.
How do you stop a reorder from drifting?
Repeat orders can change quietly. The front support is substituted, the mesh comes from another source, a thread code is reinterpreted, the digitized file is renamed, or a team member approves from a photo instead of the controlled package.
Before releasing a reorder, compare the new bill of materials, cap block, artwork revision, thread references, production location, labels, and packaging with the last approved run. List every difference. Decide which changes need a swatch, sew-out, complete cap sample, or revised inspection record.
Keep the physical approval sample with measurements and high-quality photos. The sample shows hand feel and structure. The digital record protects version history and can be shared across teams. Neither one is enough on its own.
What affects cost, MOQ, and lead time?
Price changes with crown construction, front material, logo size, stitch method, number of decoration locations, colorways, trims, labels, packaging, testing, quantity, and delivery basis. Ask every supplier to quote the same specification. A cheaper offer may use a lighter front, a smaller logo, a simpler finish, or omit work that another supplier included.
JoinTop’s standard MOQ is 100 pieces per style and color. Typical sampling takes 7–14 days, and typical bulk production takes 35–45 days after sample approval. Artwork correction, sew-out approval, sample shipping, testing, buyer review, and freight are outside those ranges unless the project schedule includes them.
For a seasonal collection, plan backward from the warehouse date. Lock the cap block before final digitizing, then release high-risk colorways before proven repeats. A late change to the logo size can reopen digitizing, sew-out, costing, sample approval, and QC records across several SKUs.
What should you send for a useful factory response?
Include the following in the RFQ or development request:
- company or brand website and sales channel;
- trucker-cap use case, target wearer, and target market;
- crown, front material, mesh, visor, closure, and fit references;
- vector logo plus a visual mockup;
- finished logo size, placement, and preferred decoration method;
- quantity per style and color with the colorway matrix;
- SKU count, forecast, and expected reorder pattern;
- labels, packaging, testing, and inspection requirements;
- target cost basis and required delivery date;
- the person responsible for sample and bulk approval.
This lets the factory identify shared work, risky combinations, and the right sample order. It also makes quotations easier to compare. Use the broader custom hat RFQ checklist for the commercial handoff.

 English
  German
  Spanish
  French
  Amharic
  Portuguese
  Italian
  Swedish
  Turkish
  Belarusian
  Danish