
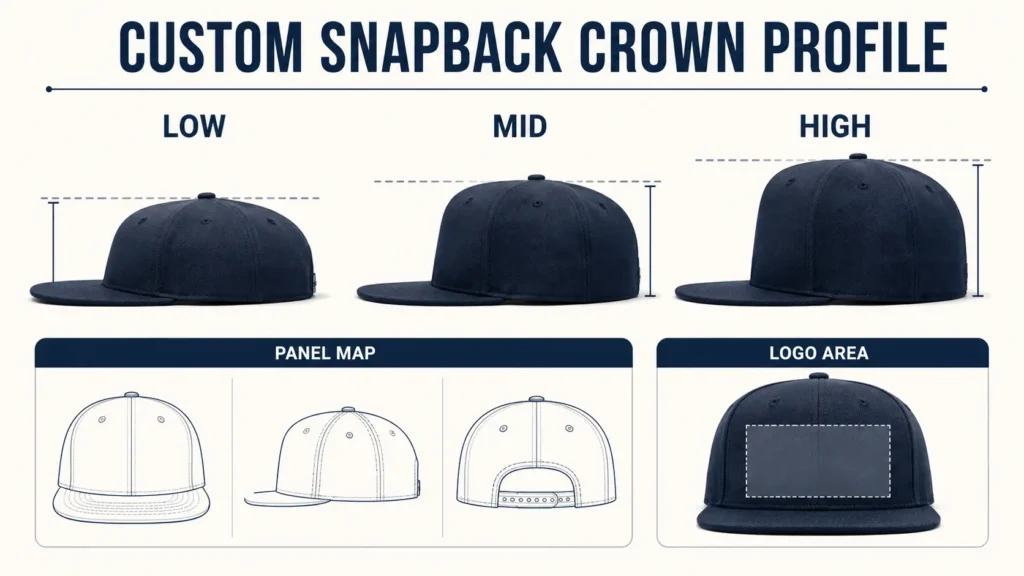
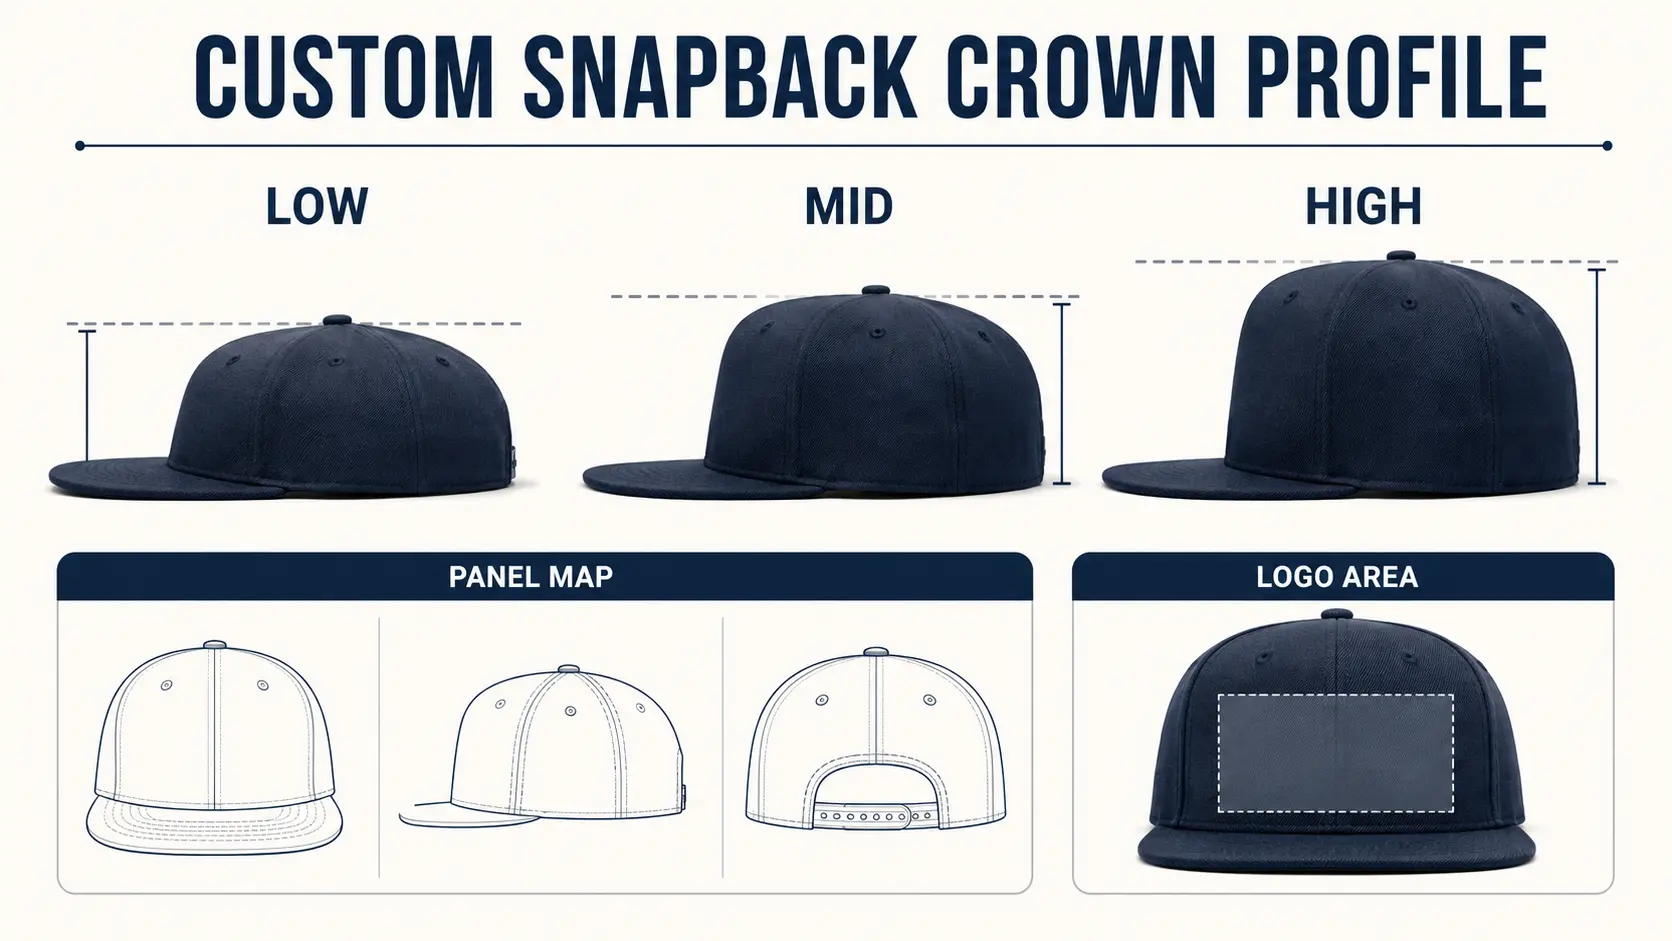
Two snapbacks can use the same fabric, flat brim, and plastic closure yet look like different products. The reason is often the crown profile. One sits close to the head. One gives a balanced retail shape. One creates a tall streetwear front. If a brand asks only for “a custom snapback,” the factory still has to guess which silhouette matters.
A custom snapback crown profile brief defines that silhouette before logo placement and sampling. It also connects the look to fit, panel construction, and reinforcement.
When buying custom made snapback hats, the profile brief gives “low,” “mid,” or “high” a product meaning your supplier can sample.
Low, mid, and high are directions, not universal numbers
Suppliers may use the words low, mid, and high differently. Treat the label as a starting category. Add measurements, reference photos, and an approved physical cap. State where each measurement begins and ends. A crown height number without a method can produce another misunderstanding.
Ask for front, side, back, and top views. In the side view, note the slope from front to back. In the front view, note whether the front is narrow, wide, rounded, or square. A familiar cap reference is often more useful than adjectives such as “premium” or “modern.”
Connect the profile to a named wearer range. ISO 8559-5 gives standardized head and face measurement definitions that can support consistent fit discussions. The standard does not choose your target customer, so keep the brand’s own fit range on the profile brief.
Use crown blocks to build a clear product architecture
A mature snapback line does not need a new crown for every graphic. It needs a small set of controlled blocks with clear jobs. One block may be the brand’s core mid-profile fit. Another may support a high, firm front for bold artwork. A third may be a softer low profile for a different channel or wearer group.
Give each block a code and an owner. Record its panel map, pattern version, target wearer, fit range, structure, brim, closure, sweatband, key measurements, and signed sample. Then map every SKU to that block. This reduces repeat development while preventing a familiar style name from hiding a different pattern.
Review the architecture with merchandising as well as design. If two blocks look almost the same but fit differently, the product story and size guidance may become confusing. If every seasonal color creates a new block, production and quality control become harder than the commercial benefit may justify.
- Core block: high-volume shape intended for repeat seasonal use;
- statement block: a different profile tied to a clear logo or fashion purpose;
- performance block: shape and structure chosen for movement, low weight, or ventilation;
- market variant: used only when wearer data or channel needs support a real difference.
Choose the panel map with the logo
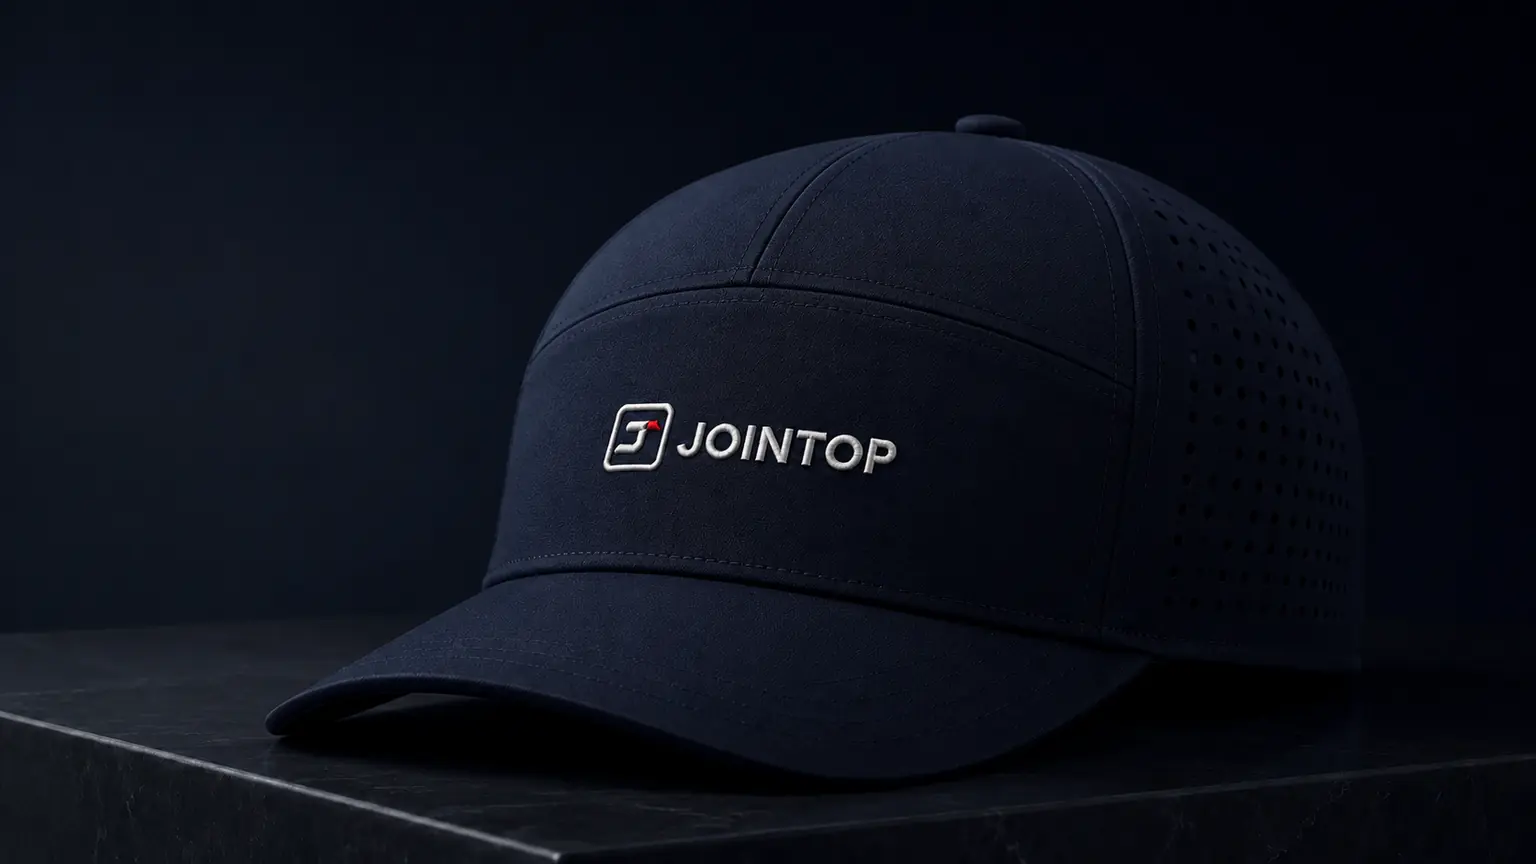
A six-panel crown has a seam through the center front. That classic structure works for many embroidered logos, but the seam can affect very fine details or a large raised mark. A five-panel front creates a broad uninterrupted panel. A seven-panel layout can move seams and build a different front shape.
Look at the panel map and logo together. If the artwork is the hero, test its finished size on the actual front area. JoinTop’s guide to custom hat logo techniques explains why embroidery, patches, and print can need different surfaces.
Structured and unstructured crowns do different jobs
A structured front uses support material to hold its shape. This can create a crisp store display and a stable field for bold embroidery or a patch. An unstructured front follows the head more closely and can feel casual or packable. The same outside fabric can look different when the inside support changes.
Name the support requirement in the tech pack. Do not approve only the outside photo. Check the hand feel, rebound after light pressure, wrinkling, and appearance when worn. A very hard front may keep a tall shape but feel less natural to some wearers. A soft front may lose the strong silhouette the brand expects.
Control the crown with a small set of measurements
| Control point | What it describes | Why the buyer should care |
|---|---|---|
| Front crown height | Vertical front shape above the brim | Logo room and high/low appearance |
| Side crown depth | How far the cap sits above the ear | Fit and visual balance |
| Front-panel width | Width and squareness of the face | Logo field and forehead pressure |
| Back slope | Change from front to rear height | Side silhouette and closure position |
| Top shape | Round, flat, or peaked behavior | How seams meet and crown holds |
| Rear opening | Opening height and width | Adjustment range and comfort |
Put the measurement method, tolerance, and pattern version in the custom hat tech pack. The aim is not to control every millimeter without reason. It is to protect the few dimensions that create the approved shape.
Balance the crown with brim shape
A flat brim supports a traditional snapback look, but “flat” still needs a material and curve rule. Some customers gently curve the brim after purchase. Others expect the cap to keep a flat retail presentation. A low crown with a very wide flat brim can feel visually heavy; a tall crown with a short brim may look top-heavy. Judge the cap as one object.
Record brim width, length, thickness, edge shape, and any pre-curve. View the sample straight on and from the side. Wear it at the intended angle. Do not approve the crown on a cap with a temporary brim that will change in production.
Plan the sample matrix before making every color
Do not sample every SKU at full detail if the real questions can be isolated. Choose a base sample that proves the crown block, fit, brim, and structure. Then identify the highest-risk logo method, fabric, and colorway. Sample combinations that can change shape or appearance, not just the easiest colors to produce.
For example, a thick patch may affect a soft crown differently from flat embroidery. A very light performance fabric may need different support from heavy twill. A dark tonal logo may need a separate visual check even when its placement is unchanged. Document what each sample is meant to prove so the team does not approve one attractive cap and assume the whole line is covered.
Test the profile across the adjustment range
Tightening a snapback closure pulls the rear panels and can change crown shape. Test the cap at lower, middle, and upper target head sizes. Photograph the side and back at each closure position. Watch for sharp folds, a pinched top, or a rear opening that becomes too wide.
The closure itself must match the design. JoinTop’s guide to snapback closure options covers common constructions. Closure choice, sweatband length, and rear-panel pattern should be approved together.
Make logo approval part of crown approval
A large logo can make a mid crown look lower or a high crown look more balanced. Test the exact finished artwork, not a placeholder. If you plan 3D puff embroidery, check edge quality, foam height, and the way stitches cross or avoid panel seams. Tajima’s 3D embroidery notes show that raised work needs method-specific digitizing.
Use a worn front photo to judge visual centering. Mark logo size and position in millimeters. If the logo changes after crown approval, review the total appearance again.
Approve a profile, not a mood board
Keep one signed page with the reference cap, front/side/top images, panel map, structure, key dimensions, brim details, closure, logo size, and fit range. Attach the approved sample number. When the team sends feedback, use marked photos and measurable changes rather than “make it more streetwear.”
JoinTop’s sample feedback guide provides a simple system for Must Fix, Preferred, and Approved comments.
Protect the approved block through production and reorders
Bulk inspection should check the dimensions and visual points that define the crown, not only general workmanship. Keep the signed profile views, key measurements, structure notes, and approved sample with the production file. If a material or support layer changes, confirm that the crown still holds the intended form.
For multi-source programs, one block name is not enough. Share the same measurement method, pattern revision, limit samples, photo views, and approval owner. If another factory must build a matching block, treat that as a controlled validation project rather than assuming the name “mid profile” will produce the same result.
Before a reorder, compare the current bill of materials and pattern version with the last approved run. A quiet change to fabric weight, backing, sweatband, or brim insert can move the profile even when the outside color stays the same.


 English
  German
  Spanish
  French
  Amharic
  Portuguese
  Italian
  Swedish
  Turkish
  Belarusian
  Danish