
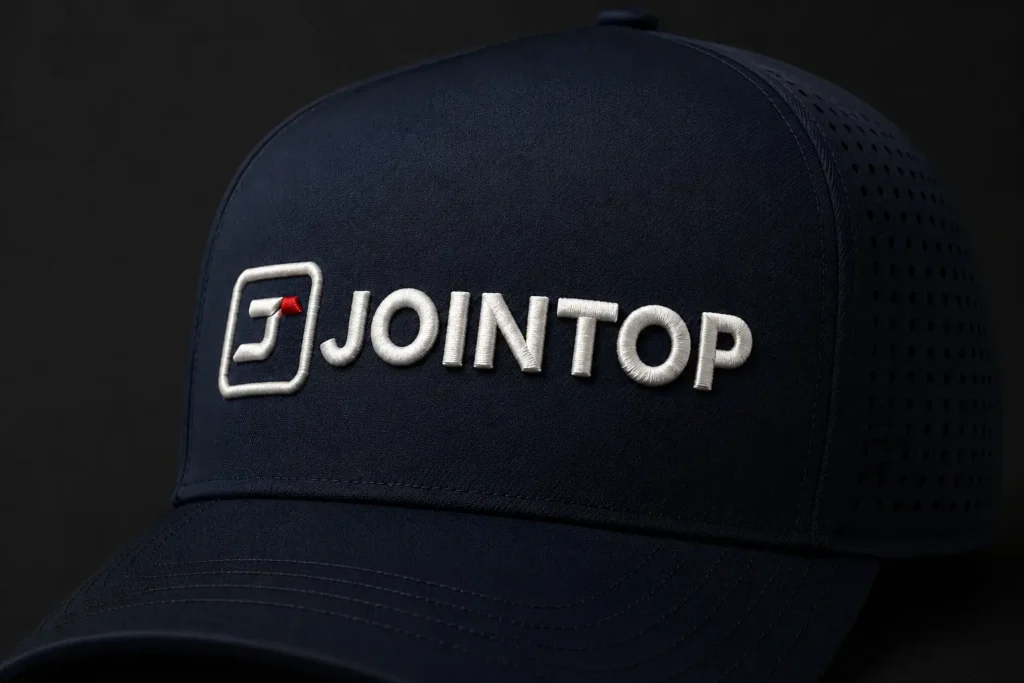
Custom embroidered ball caps succeed when the embroidery is approved
as part of the cap construction, not added after the shape is already
fixed. Brands should choose a five-panel or six-panel platform first,
then check the front-panel curve, logo placement, thread coverage,
backing, and colorway references on a physical sew-out. This guide gives
product and sourcing teams a practical approval path for a branded
ball-cap program.
The same logo can look clean on a flat artwork file and uneven on a
curved cap. Panel seams, crown height, fabric stretch, and brim
attachment all change the embroidery area. A repeatable program
therefore needs a construction brief, an approved sew-out, a finished
sample, and a bulk inspection record that the factory can use again.
Personalizado
Embroidered Ball Caps: Why the cap structure matters
Embroidery adds structure and weight to the front panel. If the panel
is too soft, the backing is not appropriate, or the artwork crosses a
seam, the result can pucker, shift, or lose edge definition. These are
production risks, not simply design preferences.
For a five-panel cap, the uninterrupted front panel can create a
broad placement zone, but the logo still has to respect the crown seam
and brim curve. For a six-panel cap, the center seam and panel symmetry
become part of the logo decision. The buyer should not approve a
digitized file before deciding which construction will carry it.
Escolher
a five-panel or six-panel platform before digitizing
The panel count determines where the artwork can sit and what the
factory must stabilize during sewing.
| Platform | Embroidery opportunity | Inputs to approve | Typical failure if the platform is unclear |
|---|---|---|---|
| Five-panel ball cap | One continuous front area for a centered or deliberately offset mark |
Front-panel shape, top seam position, logo clearance, brim curve, side-panel fabric, and closure |
Artwork is moved or resized after sampling because the front panel is not the expected shape |
| Six-panel ball cap | Traditional baseball-cap geometry with a center seam and two front panels |
Center seam, panel symmetry, logo width, seam clearance, crown profile, and brim attachment |
The logo crosses or crowds the center seam, or the two front panels do not read symmetrically |
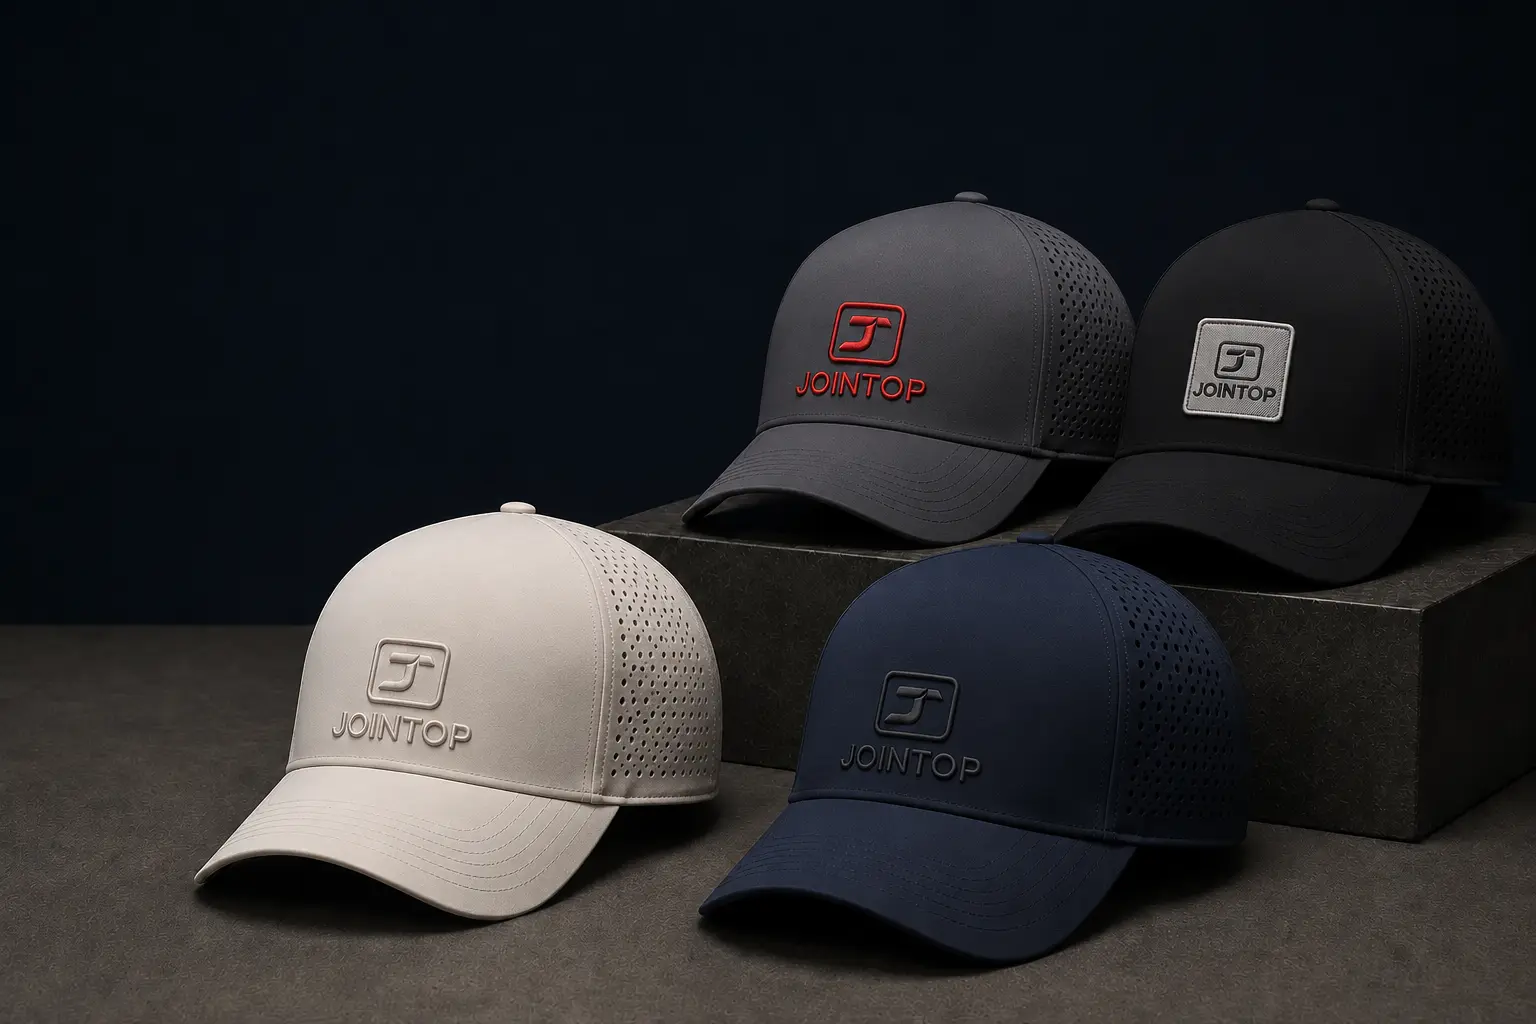
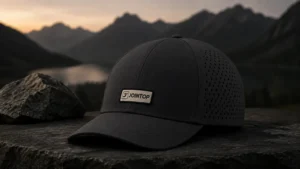
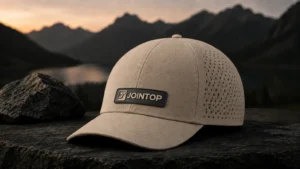
If the collection is a technical Performance Cap, the buyer can
specify laser perforations on the side and rear panels while keeping the
front branding area solid. That arrangement must be shown in the
construction drawing. Do not assume that adding holes to a basic cap
creates the required Performance Cap structure.
Sew-out
approval: what the buyer should actually check
A sew-out is a physical embroidery sample made with the intended
thread, backing, stitch plan, and fabric or a close fabric reference. It
is the bridge between artwork and a finished cap. Review it before
approving the full cap sample.
1. Artwork interpretation
Confirm that small shapes, open spaces, borders, and fine lines
survive the digitizing process. If a detail is too fine for the chosen
scale or fabric, agree on a controlled simplification rather than
letting the production line decide.
2. Thread color and contrast
Compare the thread with the approved fabric in the actual lighting
used for product review. A thread card or screen image is not enough for
a textured or dark technical fabric. Record the chosen thread references
and any approved substitutions.
3. Stitch direction and
coverage
Look for gaps, heavy build-up, uneven density, and visible direction
changes. Dense stitching can stiffen the front panel, while sparse
coverage can make a solid shape look weak. The correct balance depends
on the design, fabric, and intended hand feel.
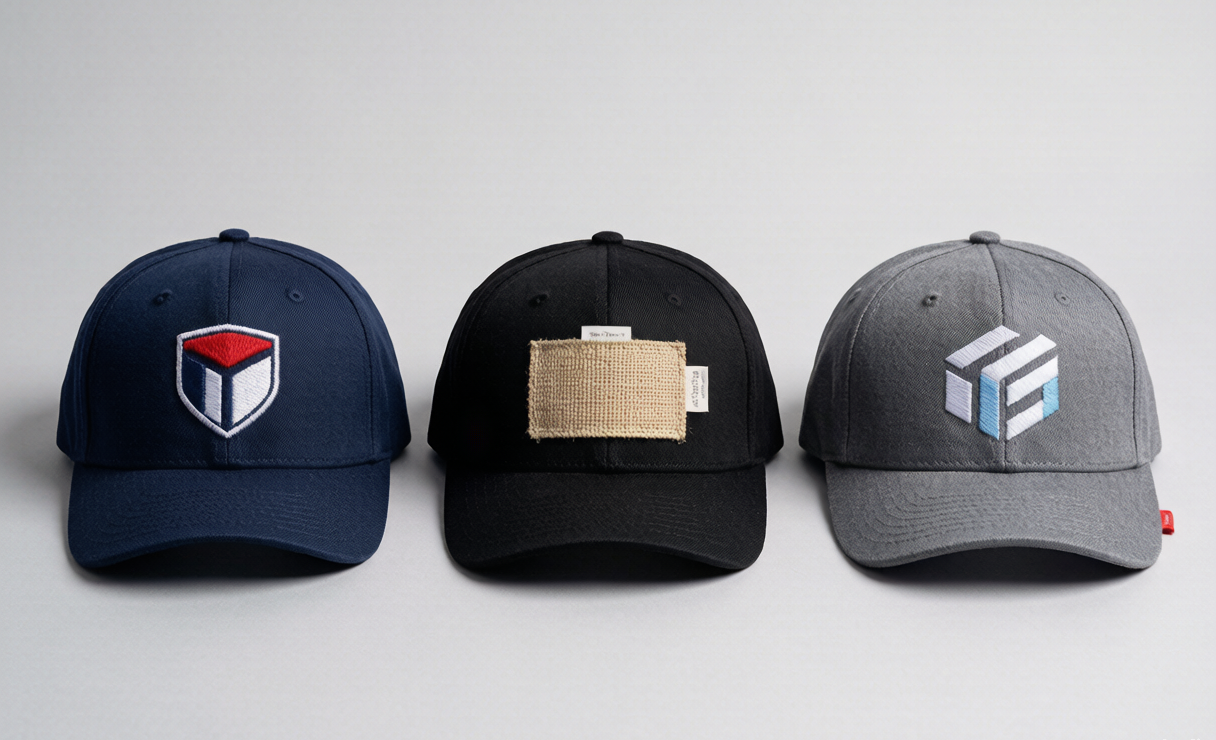
4. Edge definition and
registration
Inspect borders and adjoining color areas at normal viewing distance
and close range. The edges should be intentional and repeatable. A small
registration error on a curved panel can make a geometric mark look
off-center.
5. Backing and underside
finish
Check whether the backing supports the artwork without creating a
rough or uncomfortable interior. Confirm how excess backing and thread
tails are trimmed. The buyer should approve the interior finish as part
of the sample, not treat it as invisible.
6. Placement on the actual
panel
Move the sew-out onto the intended panel or approve a placement
mock-up that uses the real seam map. Confirm the distance from the crown
seam, side seams, and brim. Record the centerline and maximum width so
the operator has a repeatable reference.
7. Wash, wear, or use
expectations
Do not promise durability or performance without an agreed test.
Instead, state the expected use and ask the supplier what construction
and verification are appropriate. A golf, running, or outdoor cap may
need a different balance of coverage, breathability, and logo protection
than a lifestyle cap.
Control placement,
curvature, and colorways
The most common embroidery disputes are simple alignment disputes.
Prevent them with a placement map that shows the centerline, top and
bottom limits, side clearance, logo width, and orientation. For a
five-panel cap, show the complete front panel and the adjacent seam
boundaries. For a six-panel cap, show the center seam and both
front-panel edges.
Use one artwork file name and one approved sew-out reference for each
logo version. If a brand has a light and dark colorway, review both when
the contrast or fabric changes. The logo may need a different backing or
thread order even when the artwork file is unchanged.
For a hypothetical example, a brand may approve a five-panel
laser-perforated Performance Cap with a small geometric embroidery on
the solid front panel. The sample record would identify the panel count,
front fabric, side and rear perforation layout, logo position, thread
references, sew-out image, and measurement points. This is an
illustration of an approval system, not a customer case.
After the sew-out and placement decisions are clear, request a Performance
Cap sample and manufacturing review. Send the logo file, cap
reference or sketch, panel preference, use case, quantities by style and
color, target market, and required delivery date. The factory can then
identify the next sample step instead of guessing from a logo image
alone.
From an approved
sample to bulk consistency
Bulk embroidery should be compared with the approved sew-out and
finished cap, not only with the original artwork. The inspection sheet
should identify logo position, width and height, thread color, edge
quality, backing, puckering, panel symmetry, fabric and brim appearance,
closure function, and any agreed tolerances.
If the order includes several colors, keep a colorway matrix. Mark
which items are common across the collection and which are unique to one
style. This reduces the risk that an operator applies the correct logo
to the wrong panel fabric or uses a thread reference from another
colorway.
JoinTop’s current working guidance is 100 pieces per style
and color. Sampling is usually 7–14 days, and
bulk production is commonly 35–45 days after sample
confirmation, excluding design changes, approval delays, sample
transportation, and international logistics. These ranges support
planning; the confirmed project schedule still depends on the final
materials, artwork, and approvals.
Before shipment, inspect a defined sample from each important style
and color. Compare it with the approved reference under consistent
lighting. If a change is needed, record the reason, update the version,
and confirm whether a new sample is required before the rest of the lot
moves forward.
For artwork preparation, the hat
embroidery digitizing checklist is a useful companion. For broader
placement decisions, see the custom
hat logo placement guide.
What to
include in a qualified embroidery inquiry
Give the factory the information that controls the embroidery
decision:
- Company name or website and the intended customer or market.
- Five-panel or six-panel preference, cap use case, and desired crown
and brim profile. - Logo artwork in the available vector or high-resolution format, plus
any clear-space rules. - Preferred embroidery location, approximate size, thread colors, and
any patch alternative. - Quantity by style and color, target market, packaging or label
needs, and requested delivery date. - Existing sample, tech pack, or reference cap if the project is based
on an approved shape.
If the artwork is still changing, say so. Early disclosure helps the
factory separate a digitizing review from a quote-ready production
brief.
FAQ
Is a
five-panel cap better for embroidery than a six-panel cap?
It depends on the logo and the product brief. A five-panel cap offers
one uninterrupted front area, while a six-panel cap has a center seam
and a traditional segmented front. Both can work when the placement and
sew-out are approved on the actual construction.
Do I
need a sew-out if I already have a digital mock-up?
Yes, when the logo, fabric, curvature, or thread coverage affects the
result. A digital mock-up cannot show how the stitches behave on the
chosen panel. The sew-out gives the buyer and factory a physical
reference before the finished sample and bulk run.
Can
embroidery be used on a laser-perforated Performance Cap?
It can be used when the embroidery stays on a suitable solid panel
and the backing, placement, and perforation zones are reviewed together.
The exact construction should be confirmed from the cap sample and
material requirements.
What
does a factory need to quote custom embroidered ball caps?
Send the panel preference, cap use case, logo file, placement,
quantities by style and color, target market, and delivery date. A
sample or tech pack makes the first review more accurate.
Conclusion
Custom embroidered ball caps become easier to approve when the panel
count, logo placement, sew-out, backing, and bulk inspection record are
treated as one system. Choose the five-panel or six-panel platform
first, approve the physical embroidery on the intended fabric, and keep
a version-controlled reference for every colorway. Then submit a
complete cap brief so the factory can respond with a realistic sample
and production path.


 English
  German
  Spanish
  French
  Amharic
  Portuguese
  Italian
  Swedish
  Turkish
  Belarusian
  Danish