
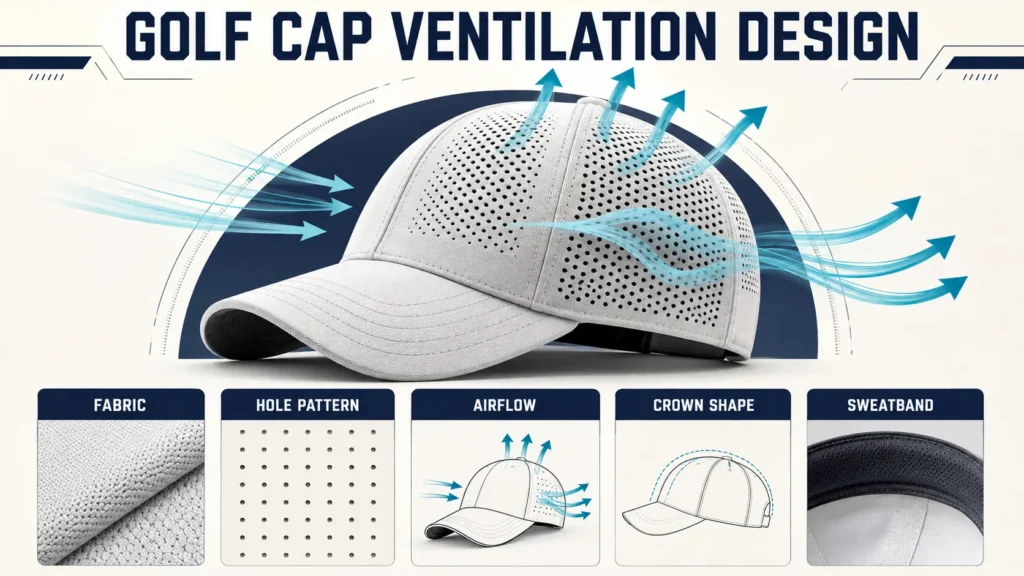
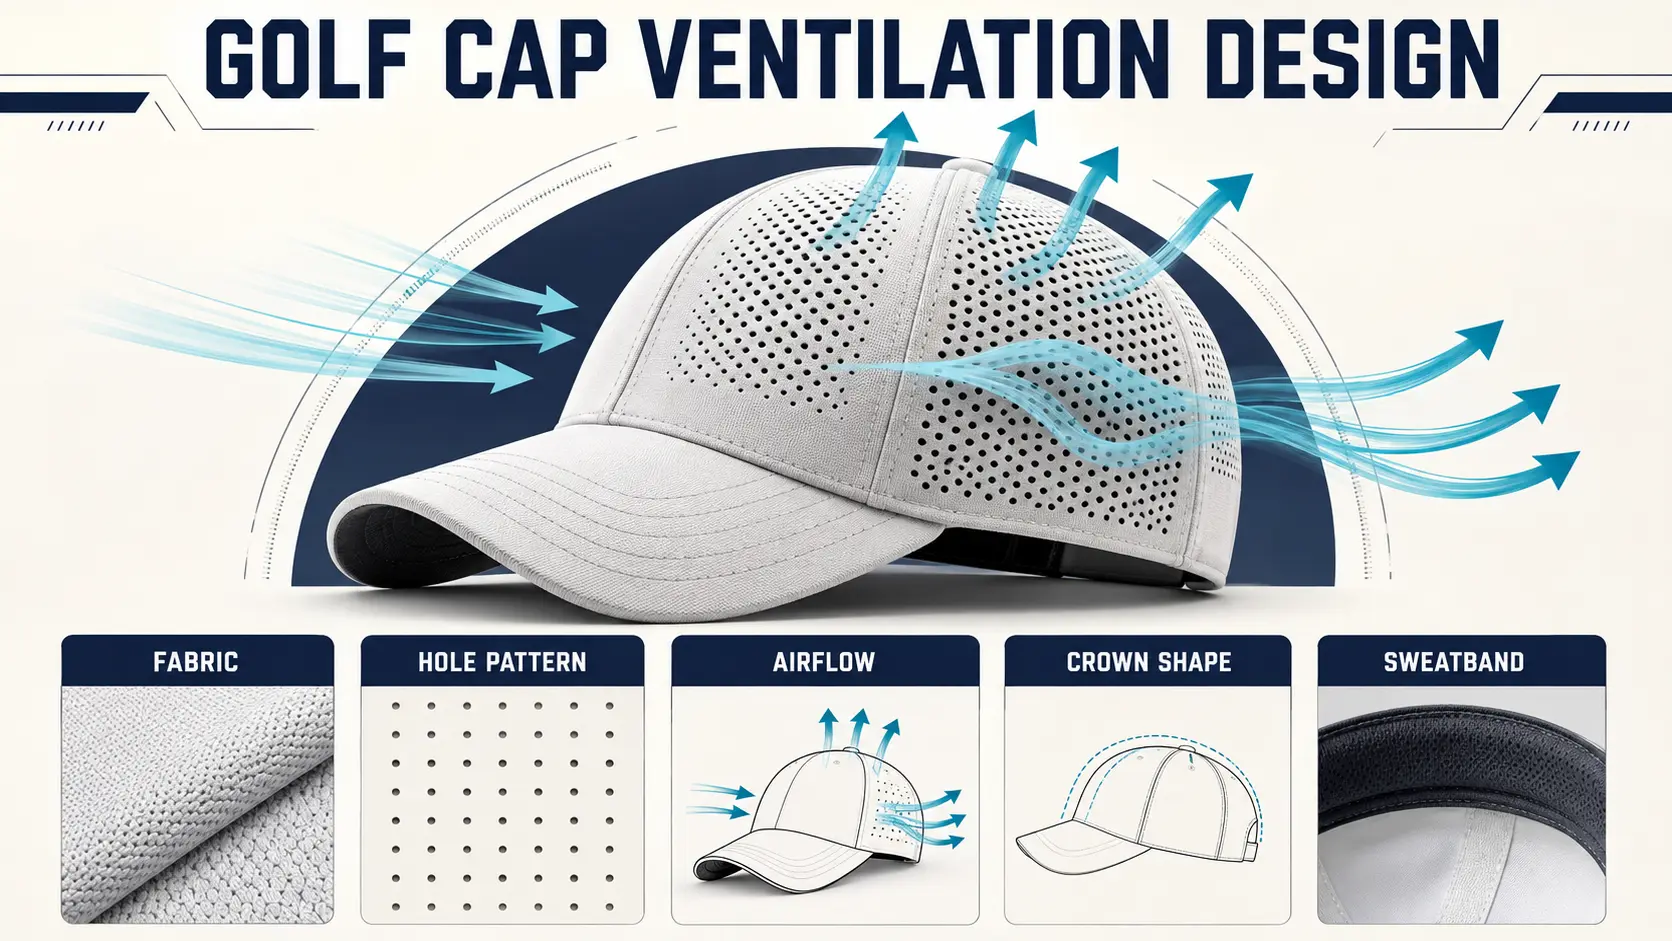
Adding holes to a cap does not always make it comfortable. Holes in the wrong place may sit under a logo or weaken a seam area. They may let the crown collapse. They may also add little airflow where the head feels hottest. A very open fabric may breathe well but fail the brand’s shape or sun-coverage goal.
Good golf cap ventilation design balances air movement, moisture transfer, crown stability, decoration, appearance, and the real conditions of play. The result comes from a system, not one mesh panel.
Custom golf hats can use mesh, laser holes, eyelets, or open fabric zones. The best choice depends on the full cap design.
Define the comfort problem first
Ask what the current cap does poorly. Does heat build at the crown? Does the sweatband stay wet? Does the front feel heavy because of reinforcement and embroidery? Does dark fabric become hot in direct sun? Each problem points to a different design change.
Write the climate, season, length of use, activity level, and target wearer. A walking golfer in humid heat needs a different balance from a cool-weather tournament volunteer. If the product will make a performance claim, decide how the team will support it before marketing writes the final words.
Start with fabric, then design the openings
Fabric structure, weight, finish, and moisture behavior influence comfort even before holes are added. Ask for material data, but test the actual decorated cap. A coating, lamination, dense embroidery, or internal support can change how a fabric behaves in the finished product.
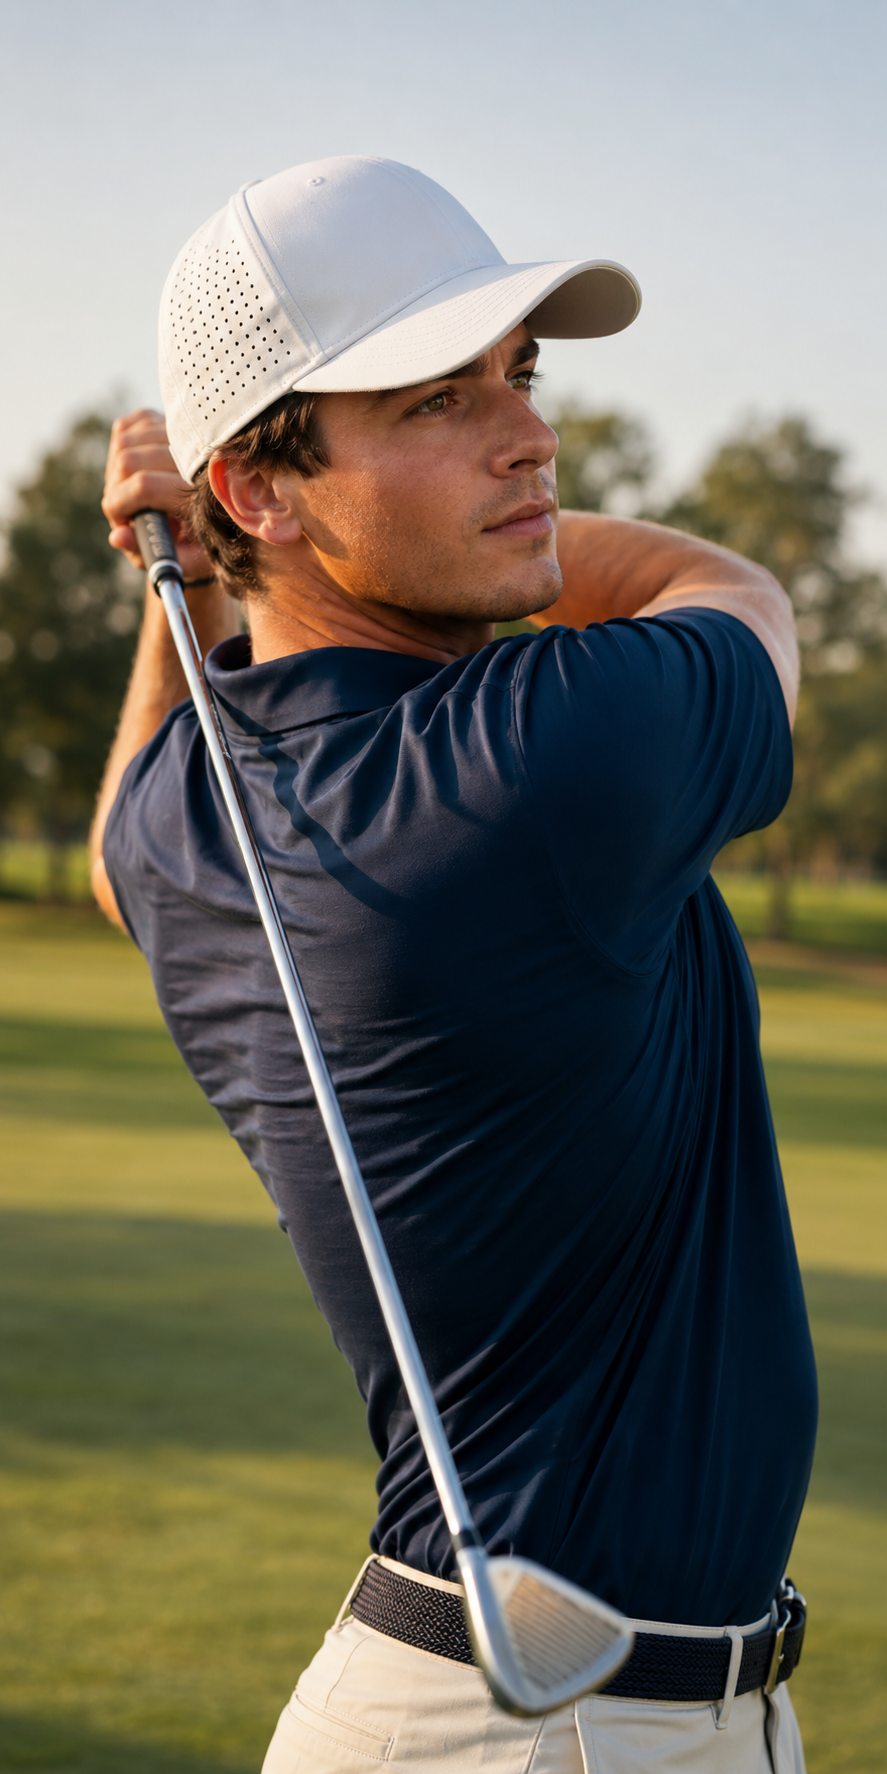
Laser perforations, punched holes, eyelets, mesh, and open-knit zones create different looks and airflow paths. Match the method to the material. Very small holes may close visually or add little open area. Very large or closely spaced holes may reduce support.
Place ventilation where it can work
Side and rear crown zones are common because they can release heat while preserving the logo field at the front. Still, the best zone depends on panel map, seams, hair coverage, fit, and reinforcement. Keep perforations a tested distance from seams, patch edges, fold lines, and closure attachments.
| Design zone | Opportunity | Risk to review |
|---|---|---|
| Front crown | Heat release near forehead | Logo conflict and loss of structure |
| Side panels | Visible airflow area with lower logo conflict | Seam strength and side shape |
| Rear panels | Air release around adjustment area | Hair coverage and closure load |
| Top crown | Heat escape at highest point | Sun exposure, seam meeting, and water entry |
| Sweatband area | Moisture transfer near the skin | Comfort, edge feel, and weak attachment |
Protect crown shape while removing material
A golf cap still needs to look right in a pro shop, on a player, and after packing. Perforation can make a soft material stretch or ripple. Mesh may behave differently from solid front panels. Check the transition seam, shrinkage, color match, and recovery after light pressure.
Use reinforcement only where it helps. A fully supported front can hold the logo but also trap heat. A lighter or partial support may keep enough structure. Compare the sample from the front and side, both dry and damp. JoinTop’s performance cap overview shows the product choices that should be considered together.
Design the logo around the airflow plan
A large dense embroidery block can cover the most important front zone and add weight. A heavy patch can reduce flexibility. This does not make these logo methods wrong; it means the brand should choose size, placement, and construction with comfort in mind.
Consider a smaller front mark, a lightweight woven patch, silicone transfer, or a side detail when the design allows. Compare options in JoinTop’s hat logo method guide. Approve the final logo on the same cap construction used for testing.
Include the sweatband in the ventilation plan
Airflow above the forehead does not help enough if the band remains soaked against the skin. Check band fiber, knit, thickness, transfer, drying, edge softness, and join. Make sure the band does not cover the lower part of a planned perforation zone when the cap is assembled.
A band that absorbs a large amount may feel comfortable at first but take longer to dry. A fast-transfer band may move moisture into the crown, where fabric must spread and release it. Use the custom golf cap sweat test to evaluate the whole path.
Choose tests that match the question
ISO 11092:2026 covers thermal and water-vapor resistance of textiles under steady-state conditions. ASTM F1868-23 addresses thermal and evaporative resistance of clothing materials using a sweating hot plate. These are material-oriented tools; the right method depends on the claim and laboratory plan.
AATCC TM195 measures liquid moisture management properties of textiles. None of these links means an untested finished cap has passed. Ask a qualified lab or your compliance team to select methods and acceptance criteria. Then add a wear test because the assembled cap, fit, weather, and movement shape the user experience.
Run a side-by-side wear test
Compare the current cap and one or more design versions in similar conditions. Record temperature, humidity if available, activity time, head size, closure setting, and tester notes. Check heat comfort, sweatband feel, cap stability, wet areas, drying, shape, and logo appearance.
Change one major variable at a time when possible. Comparing a new fabric, new sweatband, new crown pattern, and new perforation plan all at once makes it hard to learn which change helped. Use photos and version names instead of memory.
Inspect ventilation features in production
Put hole size, spacing, zone outline, distance from seams, and allowed defects on the approved specification. Check early production for incomplete cuts, melted edges, distorted holes, tearing, and panel mismatch. Keep the approved cap and material reference with the production file.
JoinTop’s hat quality control process can help connect those approved details to incoming material, in-line, and final checks.
Build the sample around your real golf customer
Send the climate, use time, comfort problem, fabric direction, crown profile, ventilation zone, sweatband, logo, and care expectation. JoinTop’s normal starting minimum is 100 pieces per style and color. Sampling commonly takes 7–14 days and bulk production about 35–45 days after approval. Contact JoinTop about a ventilated golf cap and include the cap your team wants to improve.



 English
  German
  Spanish
  French
  Amharic
  Portuguese
  Italian
  Swedish
  Turkish
  Belarusian
  Danish